Gluten-Free Quinoa Veggie Burgers

I’m currently going through a veggie burger phase and actually haven’t had a ‘regular’ (meat-based) burger in a really long time. I love how much variety and intricate vegetable combinations a veggie burger can have. The flavors can be anywhere from spicy and powerful to subtle and smooth. After eating a variety of veggie burgers, whether sweet potato, black bean, corn, or quinoa, I decided that I wanted to start making my own. The burgers not only seem like they would be fun to make but also delicious to eat. My plan was to start by following recipes and then move to my own designs.

I begin my veggie-burger project with a relatively simple quinoa veggie burger, and I LOVED it! My mom and I ate half a batch of burgers together, and despite the lack of meat in the burgers, we left the table feeling totally full. The egg, cheese, and quinoa were the perfect combination and I would highly recommend these for vegetarians and meat-eaters alike! ENJOY

IMG_3978

IMG_3956

INGREDIENTS:

2 1/2 cups cooked quinoa, at room temperature

4 large eggs, beaten

1/2 teaspoon fine-grain sea salt

1/3 cup finely chopped fresh chives

1 yellow or white onion, finely chopped

1/3 cup or 15 g freshly grated Parmesan cheese

3 cloves garlic, finely chopped

1 cup gluten-free bread crumbs- buy or simply cut gf bread into very small pieces

Water, if needed

1 tablespoon extra-virgin olive oil

  1. Combine the quinoa, eggs, and salt in a medium bowl.
  2. Stir in the chives, onion, cheese, and garlic. Add the bread crumbs, stir, and let sit for a few minutes so the crumbs can absorb some of the moisture.
  3. The dryer the mixture, the dryer the patties. I would reccomend leaving the mixture wet and sticky to create moist burgers. However if it is too dry, add additional breadcrumbs. Conversely, a bit more beaten egg or water can be used to moisten the mixture.
  4. Heat the oil in a large, heavy skillet over medium-low heat, add 3-4 patties, if they’ll fit with some room between each, cover, and cook for 7 to 10 minutes, until the bottoms are deeply browned.
  5. Turn up the heat if there is no browning after 10 minutes and continue to cook until the patties are browned. Carefully flip the patties with a spatula and cook the second sides for 7 minutes, or until golden.
  6. Remove from the skillet and cool on a wire rack while you cook the remaining patties. Alternatively, the quinoa mixture keeps nicely in the refrigerator for a few days; you can cook patties to order, if you prefer.

Love,

Ally

Lemon Bars with Smooth Lemon Glaze

The moment I LOVE the summer most seems to always be in the middle of the winter. Although drinking hot drinks, wearing cute boots and cozying up to watch a movie may sound fun from afar, by the time February rolls around, all I want to do is lay on a beach somewhere sipping iced tea. As this winter has progressed, my desire to cook and bake winter dishes has slowly decreased, and I’ve evidently begun to make fruity and sweet dishes once again.

On that note, I wanted to make something summery and lemony. I decided to bake lemon bars with a twist. I made a tart lemon glaze and spread it over the top of the lemon bars, adding a unique, zesty kick. Since lemon bars are already so sweet, adding the sour glaze didn’t change the level of tartness, but perfectly complimented the flavor of the actual lemon bars making everything more smooth, balanced, and flavorful.

dsc_0255

dsc_0273

dsc_0269


INGREDIENTS

1 cup butter, softened

1/2 cup granulated sugar

2 cups all-purpose flour

4 eggs

1 1/2 cups white sugar

1/4 cup all-purpose flour

2 lemons, juiced

Glaze

2 cups confectioners’ sugar

2 tablespoons lemon zest

1/3 cup fresh lemon juice

DIRECTIONS

  1. Preheat oven to 350 degrees F (175 degrees C).
  2. In a medium bowl, blend together softened butter, 2 cups flour and 1/2 cup sugar. Press into the bottom of an ungreased 9×13 inch pan.
  3. Bake for 15 to 20 minutes in the preheated oven, or until firm and golden.
  4. While the crust is baking, whisk together the remaining 1 1/2 cups sugar and 1/4 cup flour. Whisk in the eggs and lemon juice. When the crust is done, pour evenly over the top.
  5. Bake for an additional 20 minutes in the preheated oven. The bars will continue to firm as they cool. Let cook in the pan and then cup into squares.
  6. To make the glaze, whisk the confectioners sugar, lemon zest, and lemon juice together until smooth.
  7. Pour the glaze over the top of each lemon bar square. Cover the bars fully with the glaze as a top layer.
  8. Enjoy!!!

Love,

Ally

Piña Colada Cupcakes

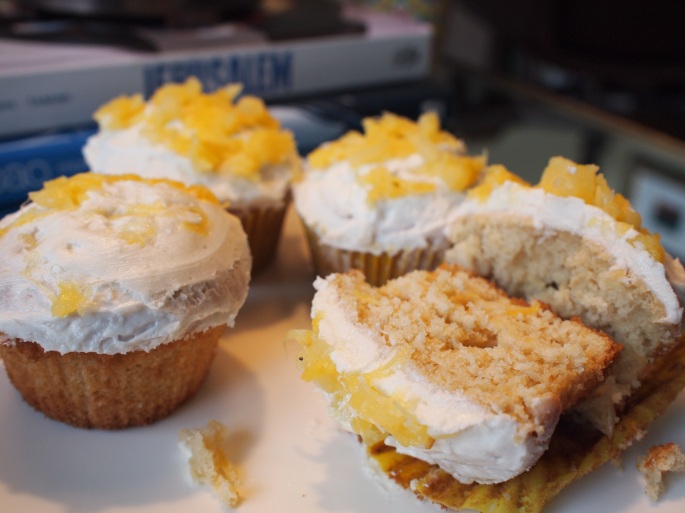
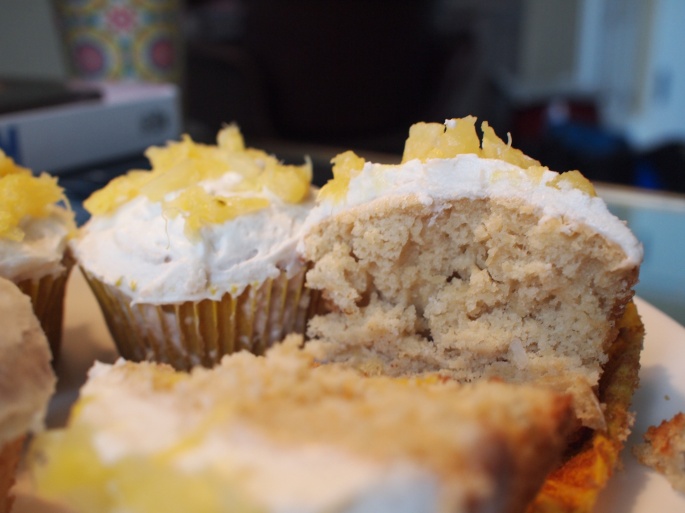
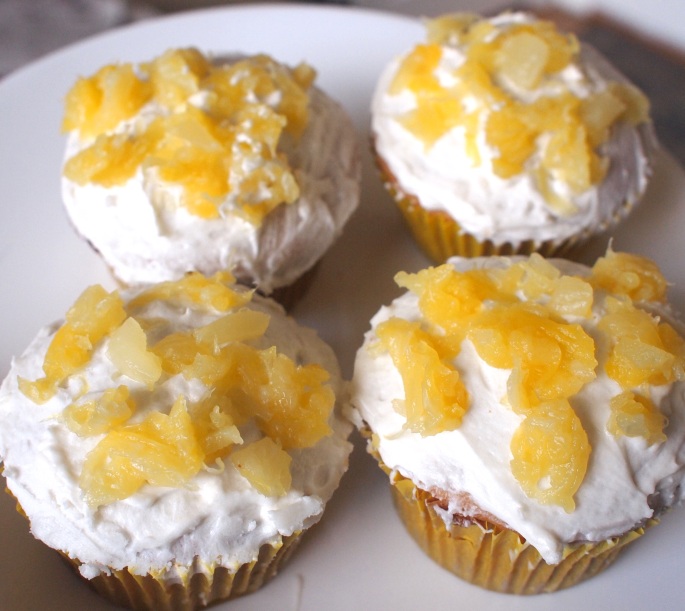
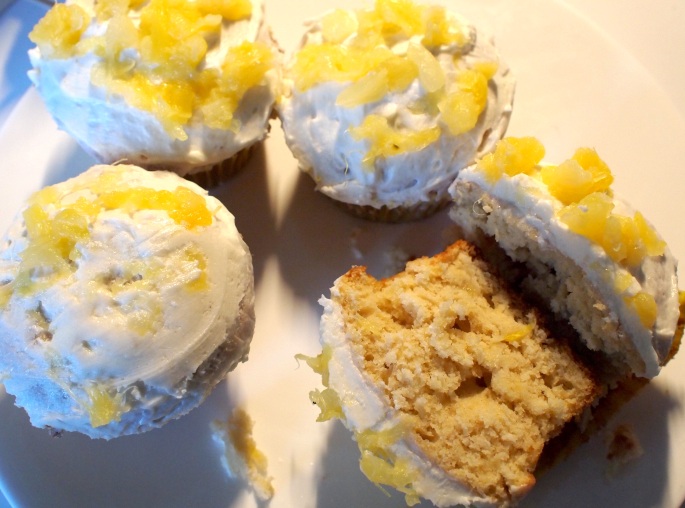
If I am ever traveling to a tropical destination, piña coladas are a MUST HAVE. They are my favorite drink, and I would kill for one – any time of any day. My love for piña coladas (virgin of course) started when my best friend Shelby (more like a sister), her family, and my family traveled together to Cancun, Mexico. Since we all stayed at a Club Med, we had unlimited drinks at our disposal. As 10 year olds, this made Shelby and I very happy. Since I listened to the song “If you like Pina Coladas” by Jimmy Buffet so many times as a kid, I immediately knew that a piña colada was the first tropical mixed drink that I had to try. From that moment on, every time we passed the bar, Shelby and I stopped by and ordered a new set of drinks. I would order a piña colada, and Shelby would order a strawberry daiquiri (virgin of course). I can’t count how many piña coladas I drank that week. Ever since then, I associate piña coladas with utter joy and always make sure to have at least one every time I travel somewhere with a beach and a bar.

When I came across a piña colada cupcake recipe a few months ago, I wanted to make them as soon as possible. Unfortunately, I forgot about the recipe until last week when I came across it in a cookbook. I couldn’t be happier that I made these cupcakes. They tasted like exactly piña coladas in cupcake form and put a big smile on my face. They also were SO much fun to make, as I had never baked such non-traditional cupcakes. If you’re a piña colada lover, this one is for you! ENJOY!

 OLYMPUS DIGITAL CAMERA
OLYMPUS DIGITAL CAMERA

Ingredients:

1 and 2/3 cups  all-purpose flour (careful not to overmeasure)
1/2 teaspoon baking powder
1/4 teaspoon baking soda
1/2 teaspoon salt
3/4 cup packed light or dark brown sugar
1/4 cup  granulated sugar
1/2 cup  unsalted butter, melted
1 large egg, room temperature preferred
1/2 cup  pineapple juice
1/2 cup full fat coconut milk
2 teaspoons vanilla extract
FROSTING:
1 cup unsalted butter, room temperature
1 teaspoon vanilla extract
3 cups powdered sugar
7 tablespoons coconut milk
small can of pineapple for topping (optional)

Directions:

  1. Preheat oven to 350°F (177°C). Line a 12-count muffin pan with cupcake liners. Set aside.
  2. In a medium bowl, mix together flour, baking powder, baking soda, and salt. Set aside.
  3. In a large bowl, whisk melted butter, brown sugar and granulated sugar. Whisk in egg, pineapple juice, coconut milk, and vanilla extract until combined.
  4. Slowly mix dry ingredients into the wet ingredients until no lumps remain.
  5.  Fill cupcake liners 2/3 of the way full. Bake for 20 minutes or until a toothpick inserted in the center comes out clean. Allow to cool completely before frosting.
  6. Make the frosting: 
    1. Combine the butter and vanilla in a large mixing bowl. Using a handheld mixer or stand mixer fitted with the whisk attachment, beat until combined and creamy.
    2.  Gradually beat in the powdered sugar. Slowly beat in the coconut milk.
    3. Continue mixing until the frosting becomes thick and fluffy, about 5 minutes.
  7. Frost the cupcakes and top with pieces of pineapple or coconut flakes.

Love,

Ally