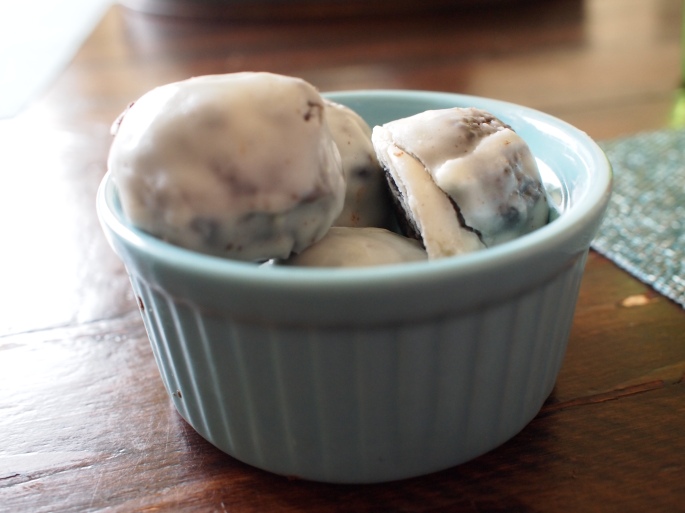
Oreo Chocolate Truffles

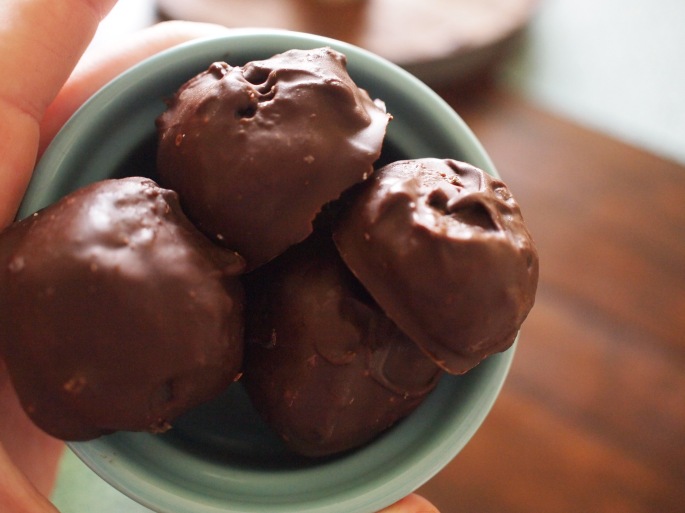
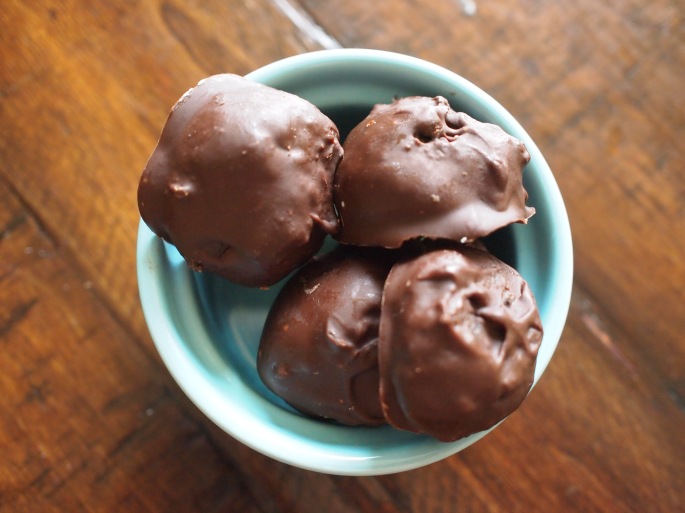
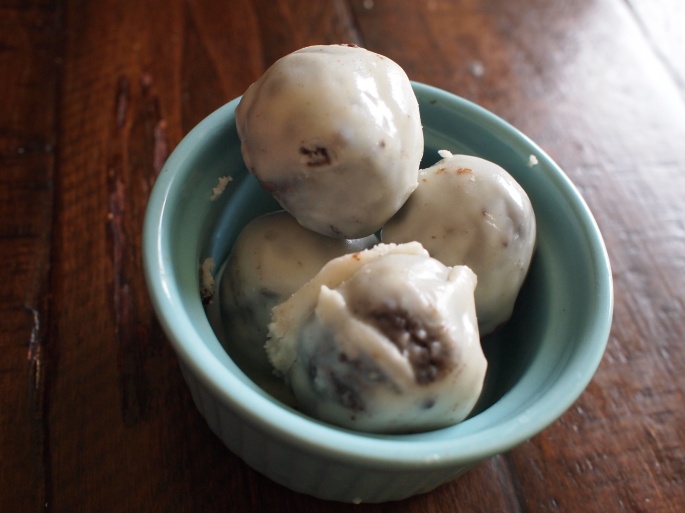
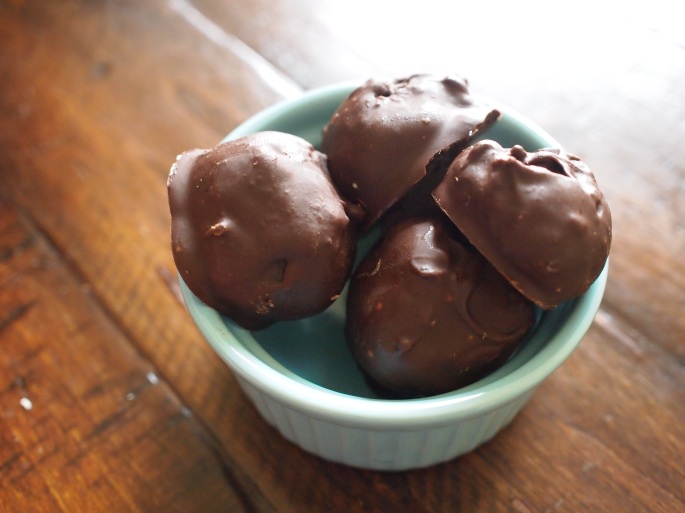
Oreo Truffles have been on my to-bake list for a really long time. I first came across the idea of a cooking/baking blog when I discovered YouTube blog channels which later sent me to cooking blog websites. One of the first videos I saw was about baking Oreo Truffles, and I have wanted to make them ever since. This recipe is a perfect, straightforward, no-bake recipe and tastes so good. I find baking so much more entertaining when you can alter recipes based on personal preferences and this recipe is definitely one of those. I used simple white and milk chocolate, but feel free to get creative! If I had more time to make these, I would have added a creative sprinkle topping and used a larger variety of chocolate.

ENJOY!

OLYMPUS DIGITAL CAMERA

OLYMPUS DIGITAL CAMERA

OLYMPUS DIGITAL CAMERA

OLYMPUS DIGITAL CAMERA

OLYMPUS DIGITAL CAMERA

Ingredients:
1 package Chocolate Oreo Sandwich Cookies (16 oz)

1 package Cream Cheese, softened (8 oz)

16 oz chocolate chips or chocolate bars (semi sweet, milk, dark, white etc.)

Directions:

  1. Crush all of the Oreos in a food processor until chopped. If you don’t have a food processor, put the Oreos in a plastic bag and chop with a rolling pin (this method will take much longer). 
  2. Combine the crushed Oreos and the cream cheese; mix with a spoon and/or your hands until well blended. The mixture will be very sticky. 
  3. Roll cookie mixture into 35-40 balls, about 1-inch in diameter. 
  4. Dip balls in chocolate using a spoon or a fork; place on wax paper-covered baking sheet. Sprinkle with reserved cookie crumbs or sprinkles.
  5. Refrigerate until firm, about 1 hour. Store leftover truffles, covered, in refrigerator or freezer. 
  6. ENJOY!

Love,

Ally


Classic Brownies with Chocolate Topping

I was scrolling through my blog this morning when I realized that I hadn’t yet posted a brownie recipe. While I don’t always prefer mass amounts of chocolate, brownies seem to change my entire perspective on it. From crispy to gooey, I don’t think that I have ever had a bad homemade brownie. 

After school I came home and immediatly whipped up a batch of this simple but amazing brownie recipe. This was originally posted on allrecipes.com and currently has almost 7000 reviews and over 4.5 stars. I never thought that a recipe so delicious could be so simple. I made two batches that each took me less than ten minutes to prepare. If you have time, be sure to make the chocolate topping, it is a perfect add in! ENJOY!

Ingredients:

1/2 cup butter

1 cup white sugar

2 eggs

1 teaspoon vanilla extract

1/3 cup unsweetened cocoa powder

1/2 cup all-purpose flour

1/4 teaspoon baking powder

Frosting:

3 tablespoons butter, softened

3 tablespoons unsweetened cocoa powder

1 tablespoon honey

1 teaspoon vanilla extract

Directions:

  1. Preheat oven to 350 degrees F (175 degrees C). Grease and flour an 8-inch square pan.

  2. In a large saucepan, melt 1/2 cup butter. Remove from heat, and stir in sugar, eggs, and 1 teaspoon vanilla. Beat in 1/3 cup cocoa, 1/2 cup flour, salt, and baking powder. Spread batter into prepared pan.
  3. Bake in preheated oven for 25 to 30 minutes. Do not overcook.
  4. To Make Frosting: Combine 3 tablespoons softened butter, 3 tablespoons cocoa, honey, 1 teaspoon vanilla extract, and 1 cup confectioners’ sugar. Stir until smooth.
  5. Frost brownies while they are still warm. Let sit in pan until cool. 

Love,

Ally

Caramel Chocolate Cake in a Mug

Made In a Mug Miniseries

One problem that often arises when I bake is the mess. Unless I am working extraordinary hard to be clean, the kitchen always ends up looking like a tornado blew through. After a couple years of making an absolute disaster, my parents came up with a checklist that I had to complete while cleaning up. If I don’t complete the checklist, than I can’t bake or cook for the rest of the week.

Another problem with baking so often is that there is no one to eat the leftovers. My family has next to no willpower; so whenever I bake something, they make me immediately take it to school, volleyball or give the treats to a friend.

So since I am tired of bringing my treats to school all the time, not being able to bake for a week,  and having to clean up for so long after I use the kitchen, I have decided to take a short break from ‘baking’. I decided that for the rest of the month, that I am going to do a “Made in a Mug miniseries.” Basically, I’ll only be posting recipes that are created in mugs and baked/cooked in the microwave. This allows me to cook single serving recipes for my brother or parents, minus the mess that baking usually creates.

I have loved making mug cakes, brownies, pies etc. since I got a book from our very close family friends. This book has a hundred really creative mug recipes. Before receiving the book, I tried making mug cakes and they seemed to always turn out either dry or overly sticky and have little flavor. So far every recipe that I have tried from this book has been so amazing and sometimes even better than a real cake.

Here is my first recipe in the miniseries; “Caramel Chocolate Cake in a Mug.” I gave both servings to my brother (after trying a bite of course), and he thought that it was sooooo delicious.

Caramel Chocolate Cake in a Mug

OLYMPUS DIGITAL CAMERA

OLYMPUS DIGITAL CAMERA


OLYMPUS DIGITAL CAMERA

Ingredients

1 egg

3 1/2 tbsp vegetable oil

3 1/2 tbsp milk (skim, 2%, whole milk)

2 tbsp granulated sugar

1/4 tsp vanilla

2 tbsp unsweetened cocoa powder

1/4 cup of flour

1 tsp baking powder

Pinch of Kosher Salt

5 tablespoons of caramel sauce (homemade preferred)

Caramel Sauce Recipe:  Add 2 cups of packed brown sugar, 1/2 cup of heavy cream and pinch of salt to a saucepan over medium-low heat. Combine with a wooden spoon or silicon spatula until completely mixed. Next, cut 1/2 cup of salted butter into pieces and and add to the pan. Allow the butter to melt completely. Cook while constantly stirring until the caramel sauce thickens, about 5 to 7 minutes, the mixture will reach a large simmer/small boil. Stir in 1 tbsp vanilla and cook for an additional minutes. Allow to cool in the saucepan for about 3 minutes and then transfer to a container and cool for 15 minutes before adding to the brownie.

Directions

  1. In a large mug or small bowl, whisk together the egg and oil with a fork. Stir in the milk, sugar and vanilla until combined.
  2. Add the cocoa, flour, and salt. Beat the batter until smooth.
  3. Stir in only 3 tbsp of the caramel sauce and divide the batter into two separate mugs.
  4. Microwave each mug separately for 1 to 2 minutes. When you take out the mug, the batter should look moist, but a fork should will come out clean. It is very easy to overcook because the cakes continue to cook in the mug after removing from the microwave. 
  5. Top each mug with one of the remaining 2 tbsp of caramel sauce. Let cool for 3-4 minutes and serve.

Love,

Ally